Before you begin, make sure you have already connected your WhatsApp integration. If you haven’t, follow the WhatsApp integration setup guide first.
Prerequisites
- A connected WhatsApp integration in Chatbase (setup guide)
- Access to WhatsApp Manager
- An approved WhatsApp Business Account
Part 1: Creating a Template in WhatsApp Manager
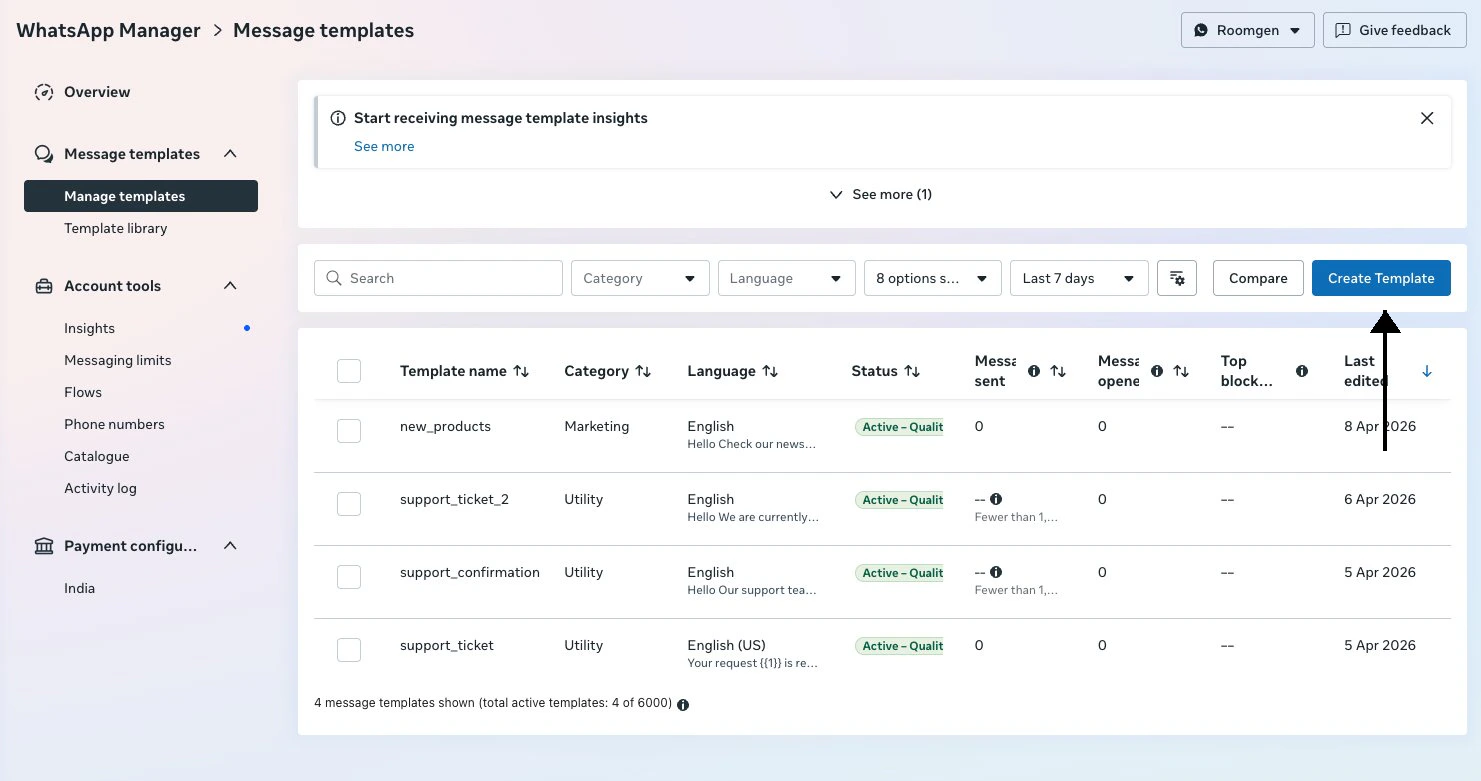
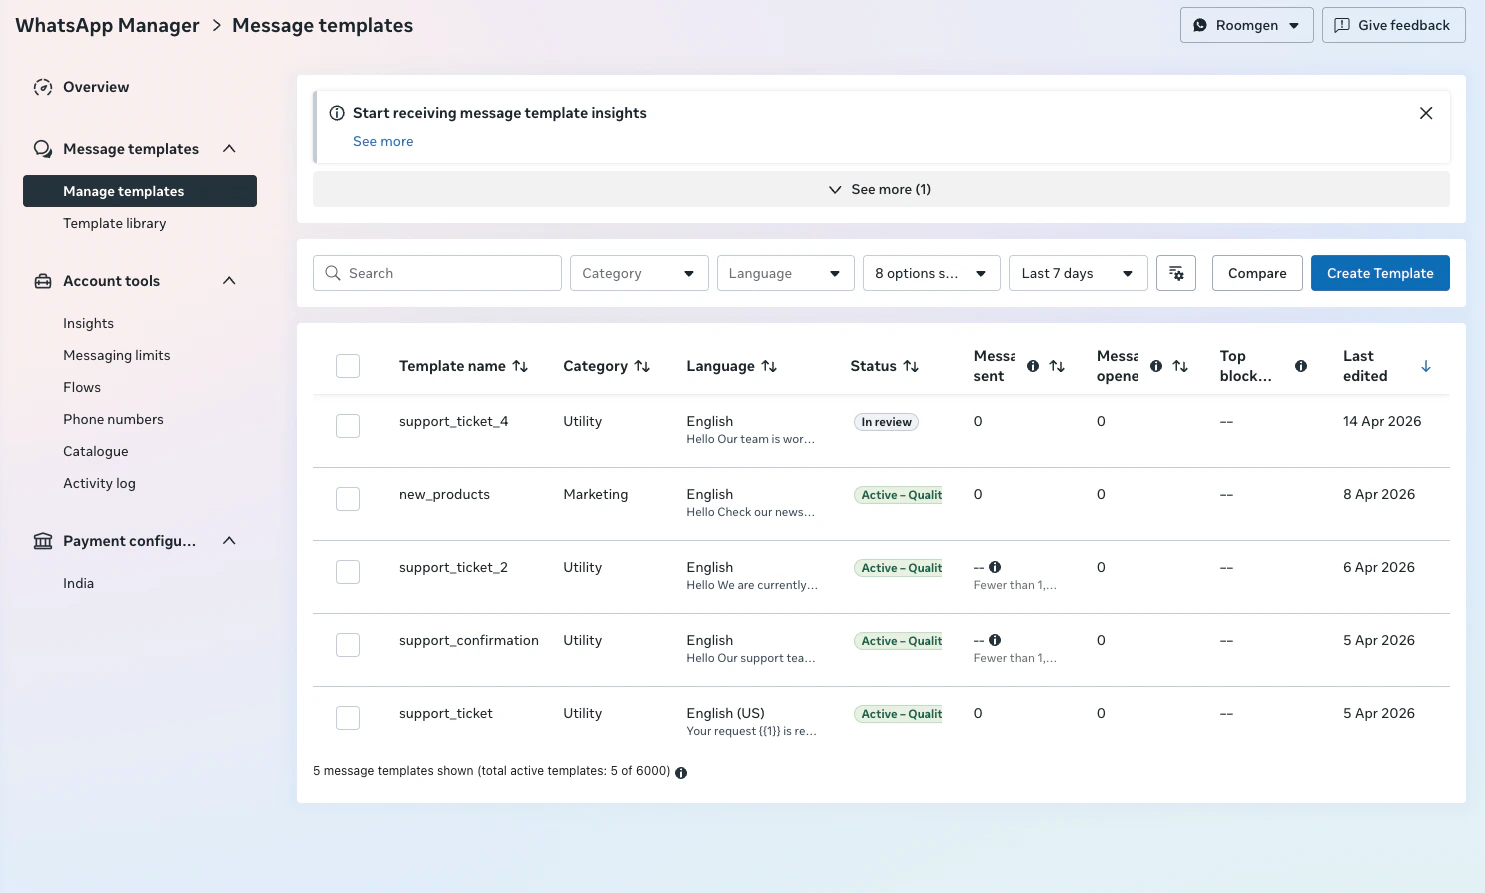
1. Navigate to WhatsApp Manager and open Message Templates.
- Utility — for order updates, account notifications, and transaction confirmations
- Authentication — for verification codes and login confirmations
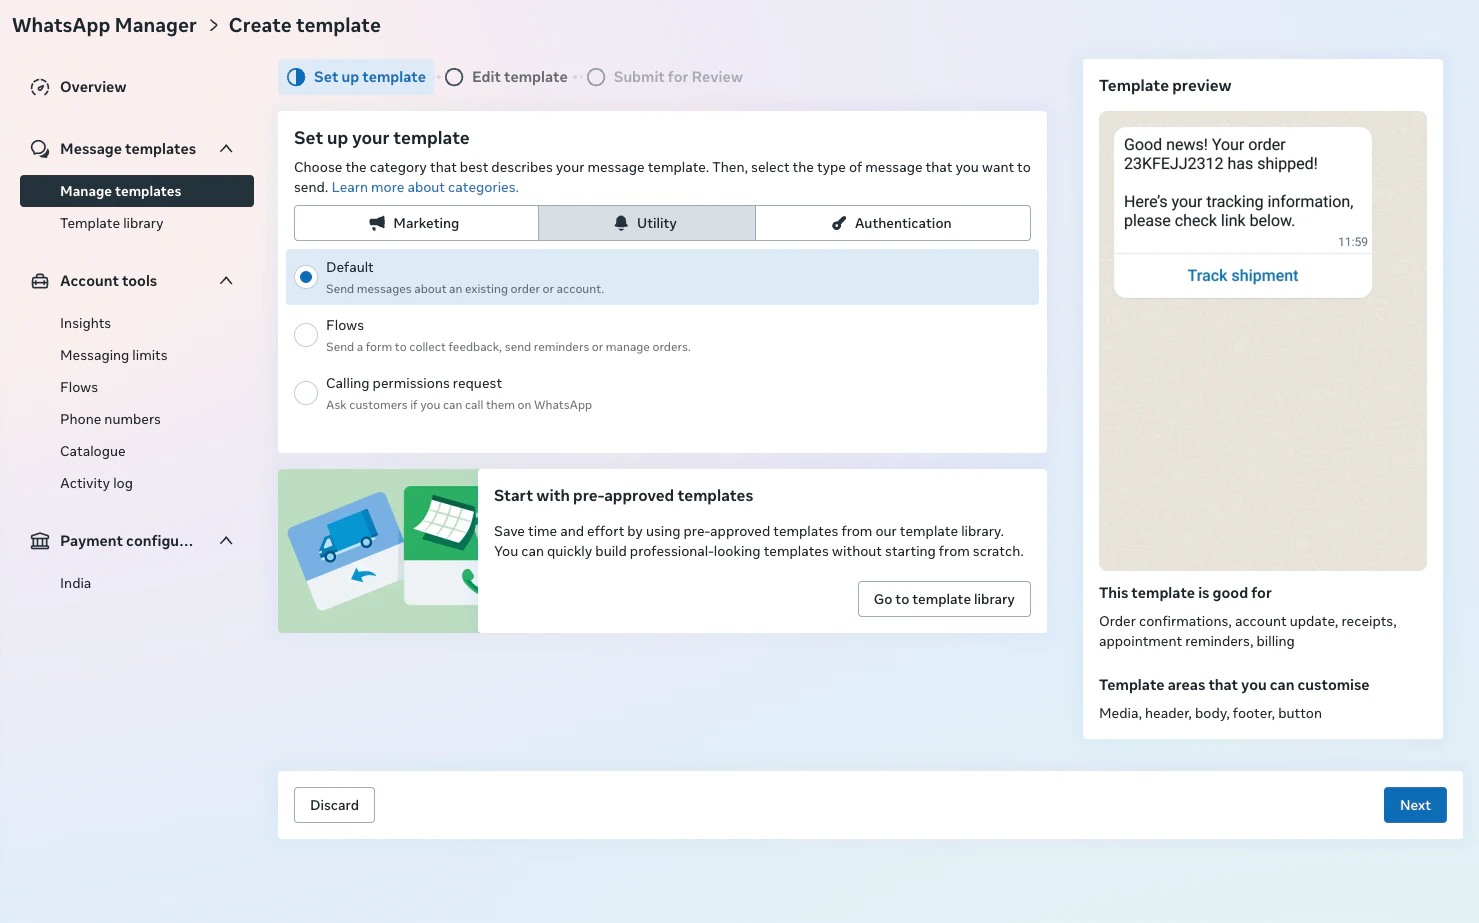
All template categories — Utility, Authentication, and Marketing — can be used in both the Helpdesk and Outbound Campaigns.
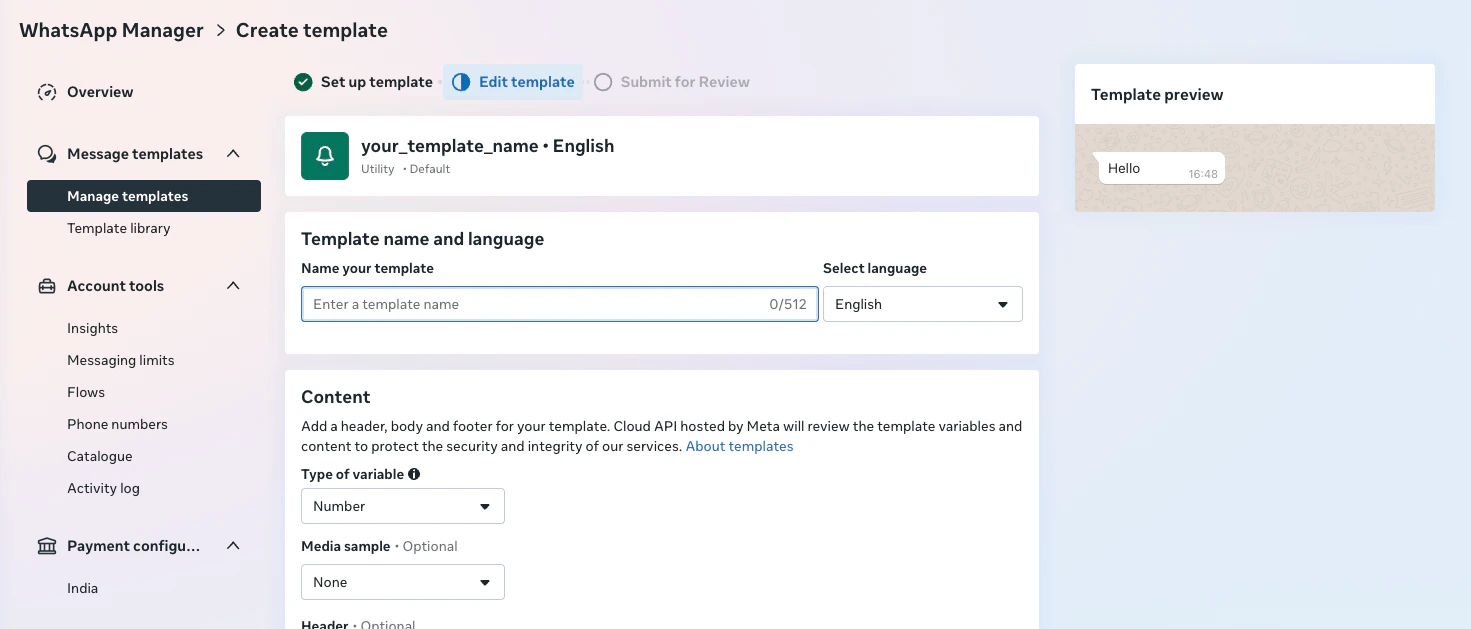
{{1}}, {{2}}) that will be filled in when sending the template from Chatbase.

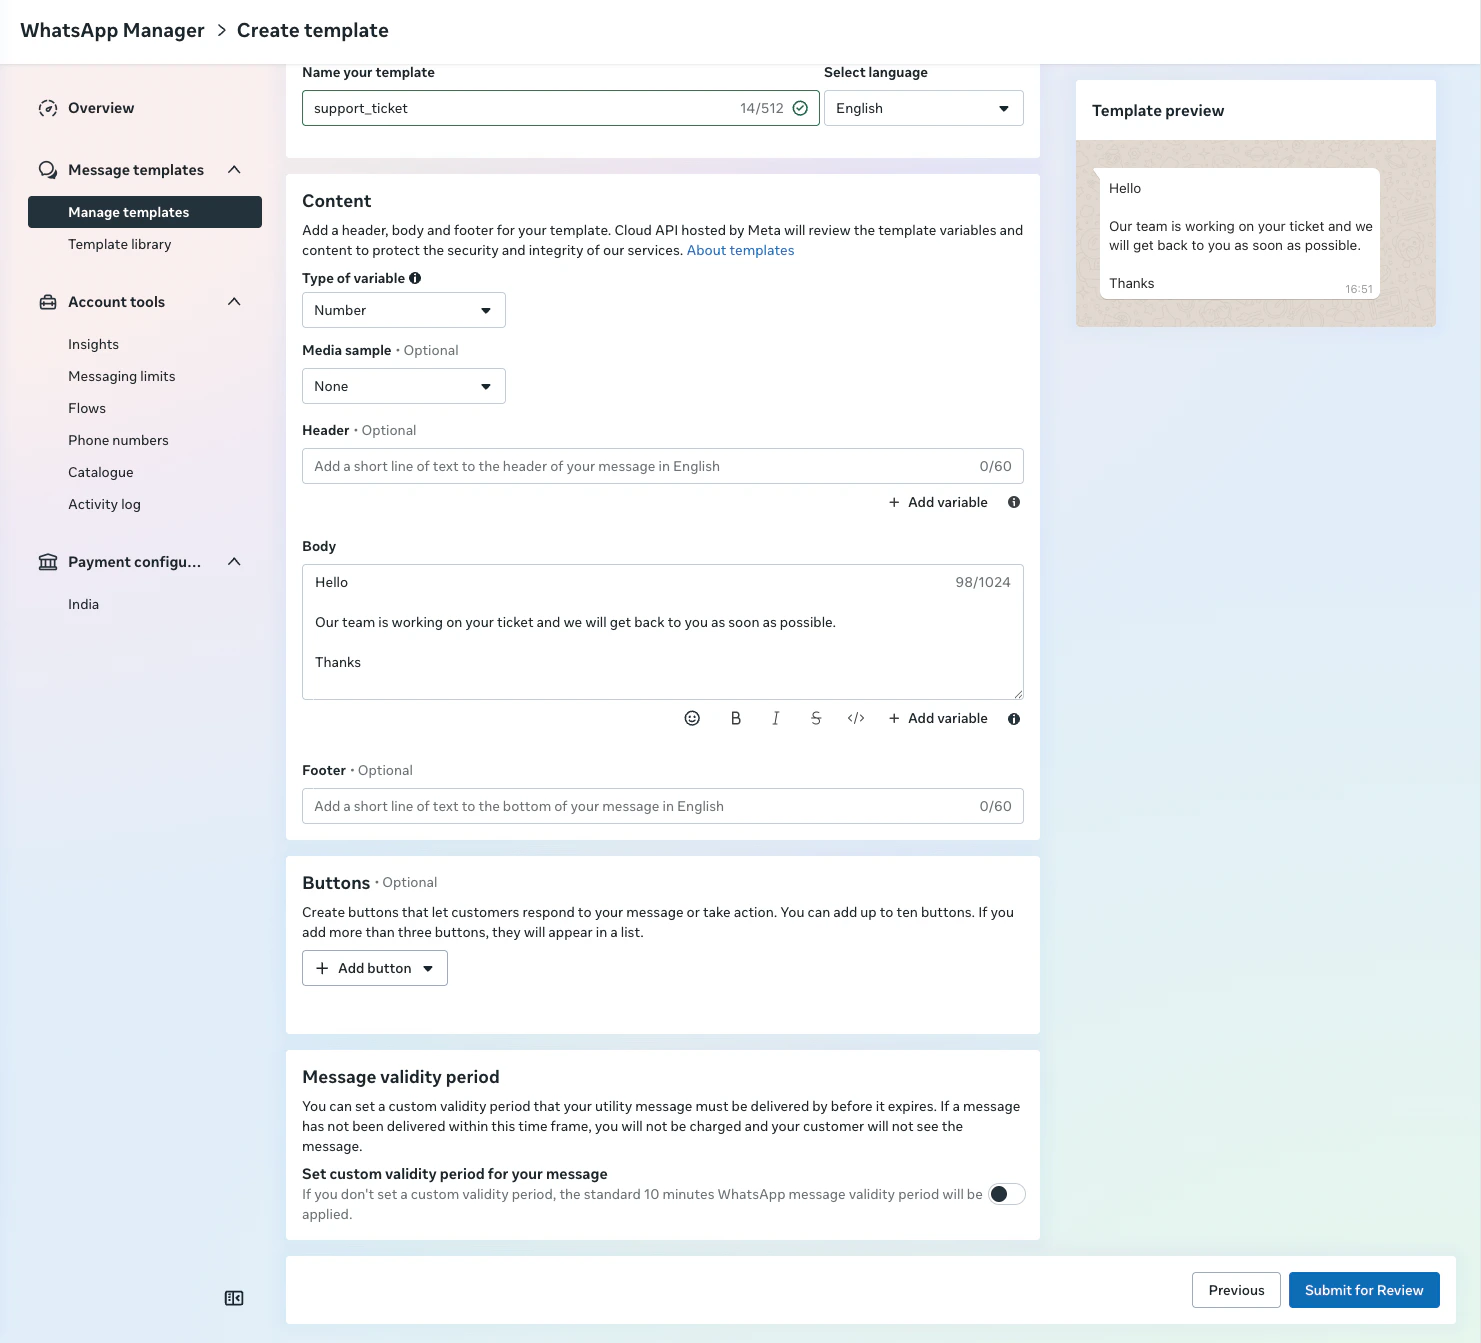
Meta reviews templates before they can be used. The review usually takes a few minutes, but can take longer. Your template must be approved before it appears in Chatbase.
Part 2: Sending a Template from Helpdesk
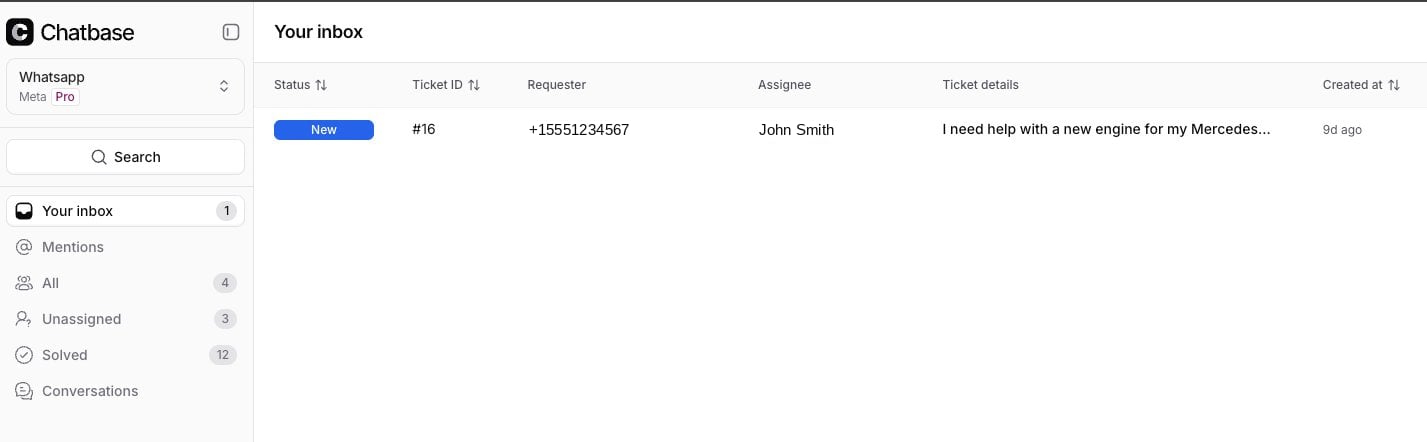
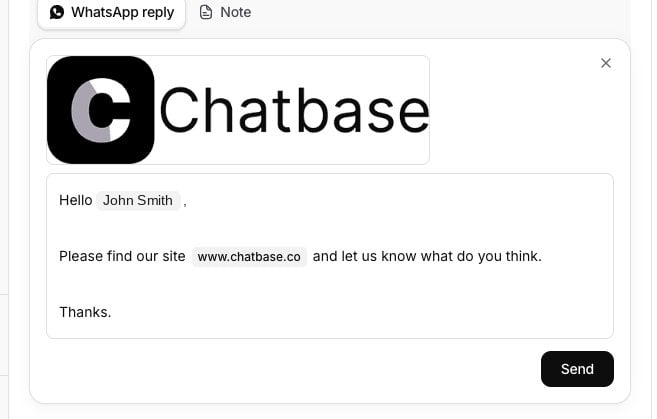
Once your template is approved in Meta, you can use it to message customers from the Chatbase Helpdesk. 1. Open the Helpdesk inbox.
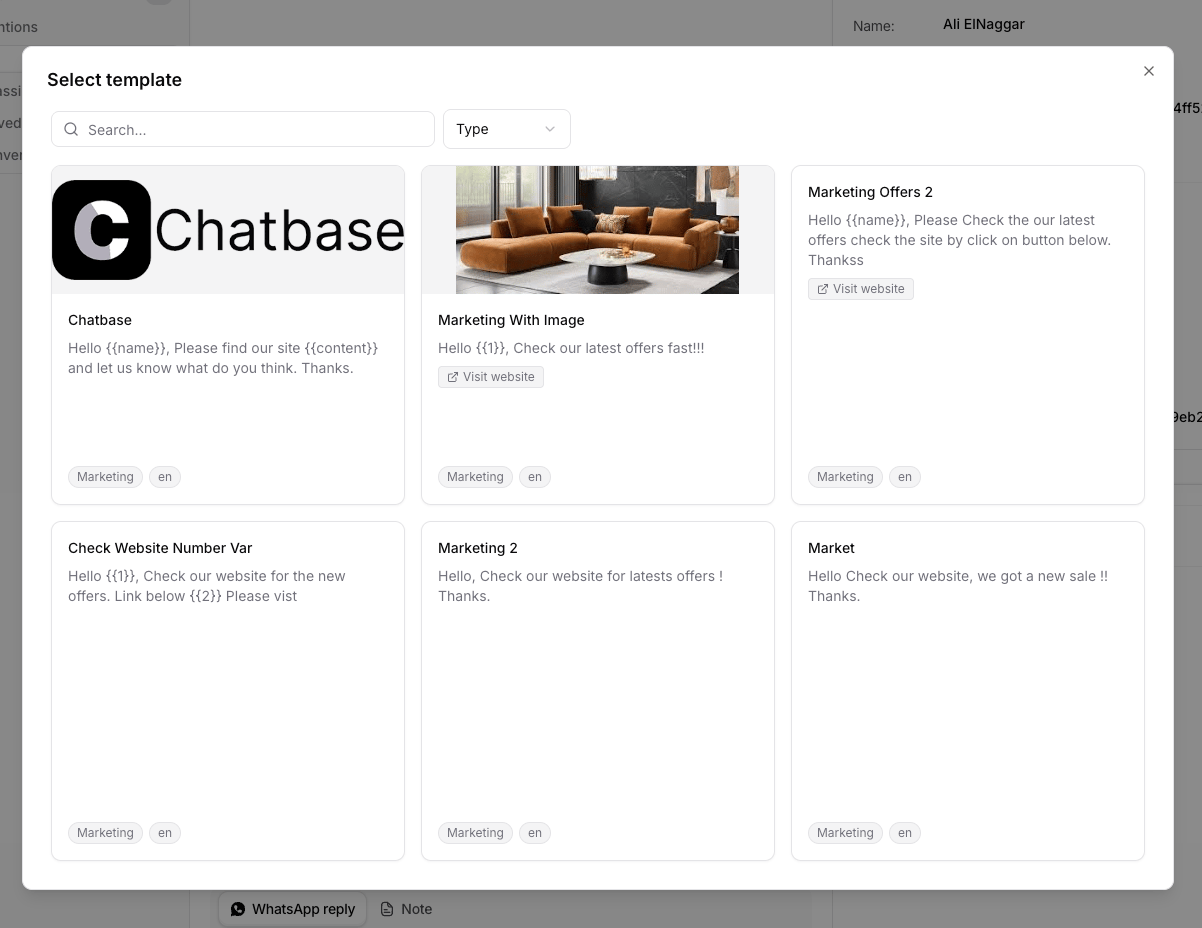
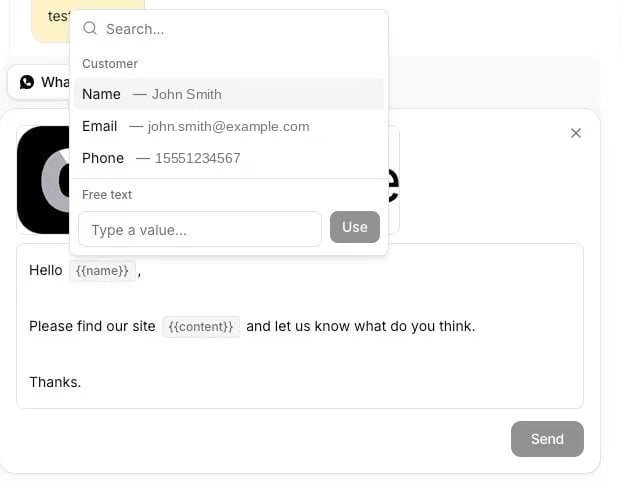
{{name}}), an inline editor appears where you map each variable to a value. Click on a variable token to open the mapping popover:
- Customer field — pulls from the ticket customer’s data (name, email, or phone number).
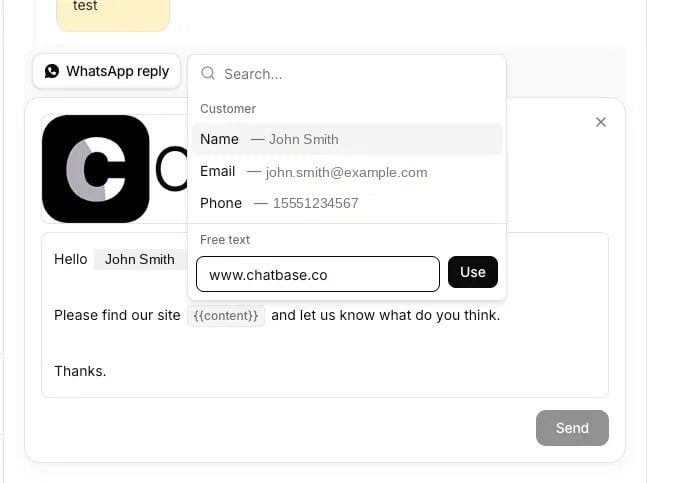
- Free text — enter a static value manually.
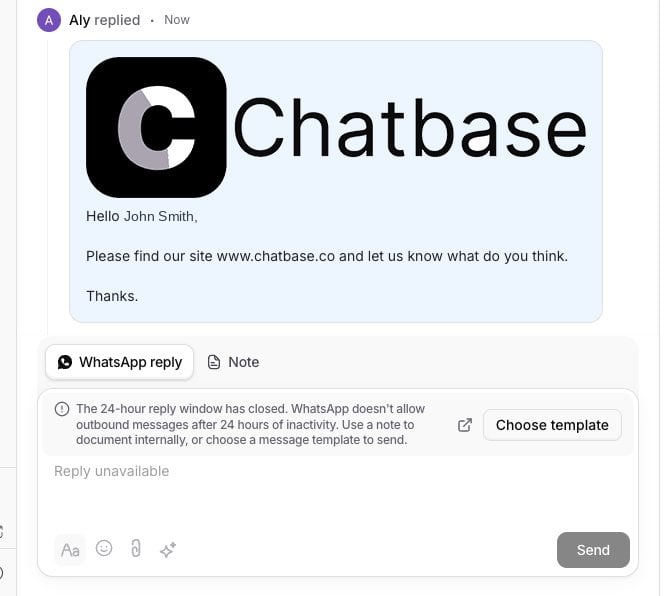
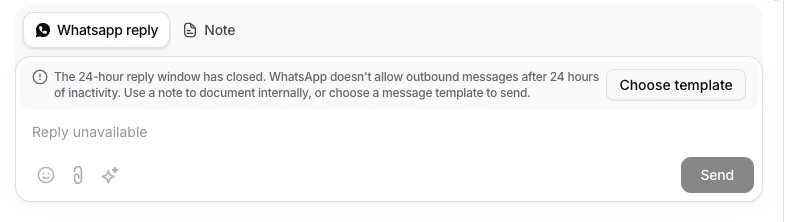
Understanding the 24-hour window: WhatsApp allows free-form messaging only within 24 hours of the customer’s last message. After that window expires, you must use an approved template to re-initiate the conversation. Once the customer replies, the 24-hour window resets and you can send free-form messages again.
Troubleshooting
- Template not appearing in Chatbase? Check that the template has been fully approved in Meta. All template categories (Utility, Authentication, and Marketing) are available in both the Helpdesk and Outbound Campaigns.
- Message failed to send? Ensure the contact has a valid WhatsApp phone number and that you have a payment method configured in your Meta billing settings.