> ## Documentation Index
> Fetch the complete documentation index at: https://chatbase.co/docs/llms.txt
> Use this file to discover all available pages before exploring further.
# Manage
> Organize your users in Chatbase workspaces for better collaboration and permission control.
## Workspace Management
### Creating a workspace
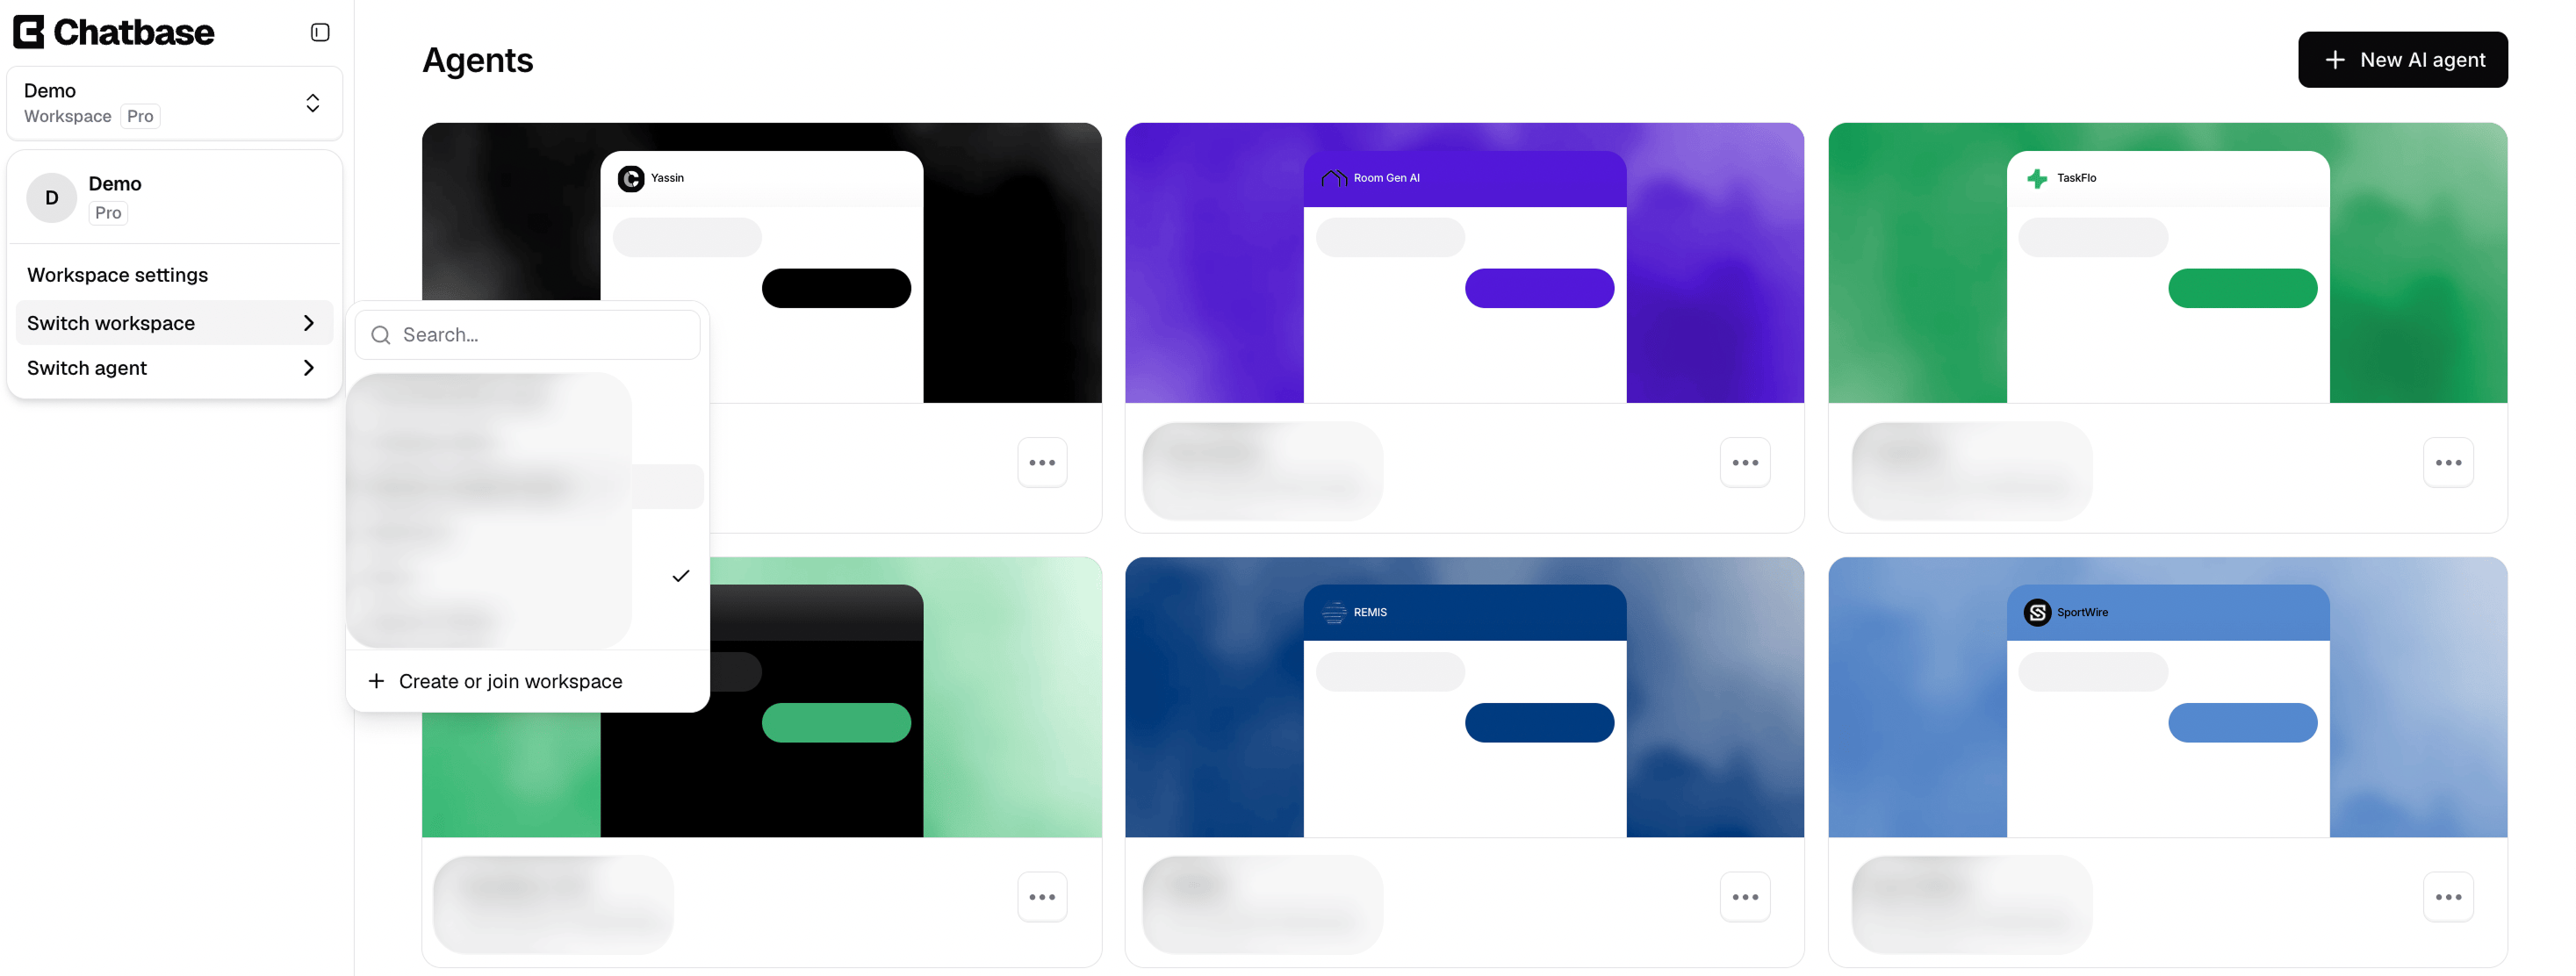
To create a new workspace, click your avatar at the bottom-left of the sidebar and select **Create or join workspace**.
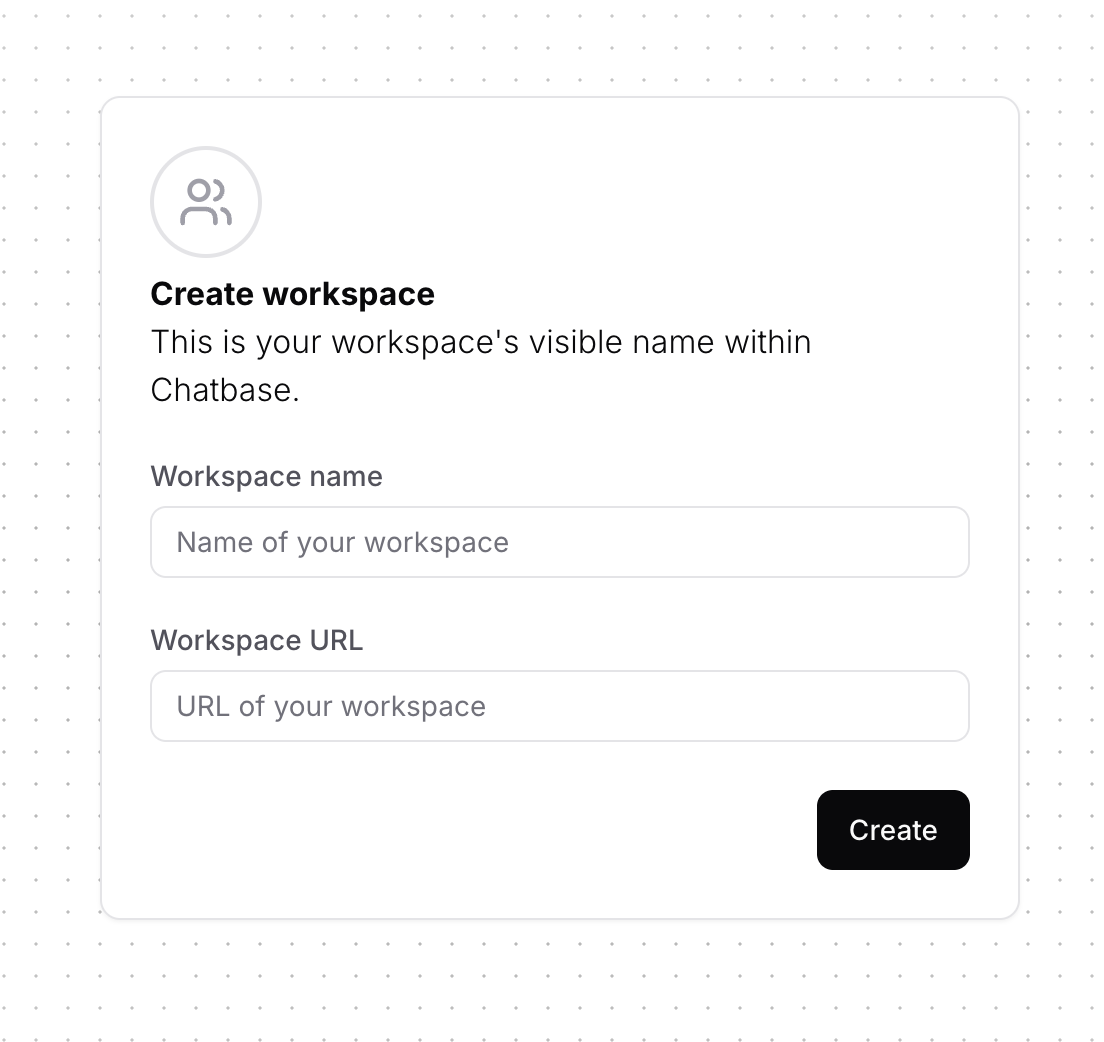
 On the next page, you need to add the details for the workspace, which includes:
* **Workspace Name:** Defines the agent's display name within the dashboard.
* **Workspace URL:** Specifies the workspace slug, visible only in the URL when accessing the workspace on the dashboard.
***Important Note:*** You can choose any workspace URL you prefer, as long as it's unique and doesn't match with any existing workspace.
On the next page, you need to add the details for the workspace, which includes:
* **Workspace Name:** Defines the agent's display name within the dashboard.
* **Workspace URL:** Specifies the workspace slug, visible only in the URL when accessing the workspace on the dashboard.
***Important Note:*** You can choose any workspace URL you prefer, as long as it's unique and doesn't match with any existing workspace.
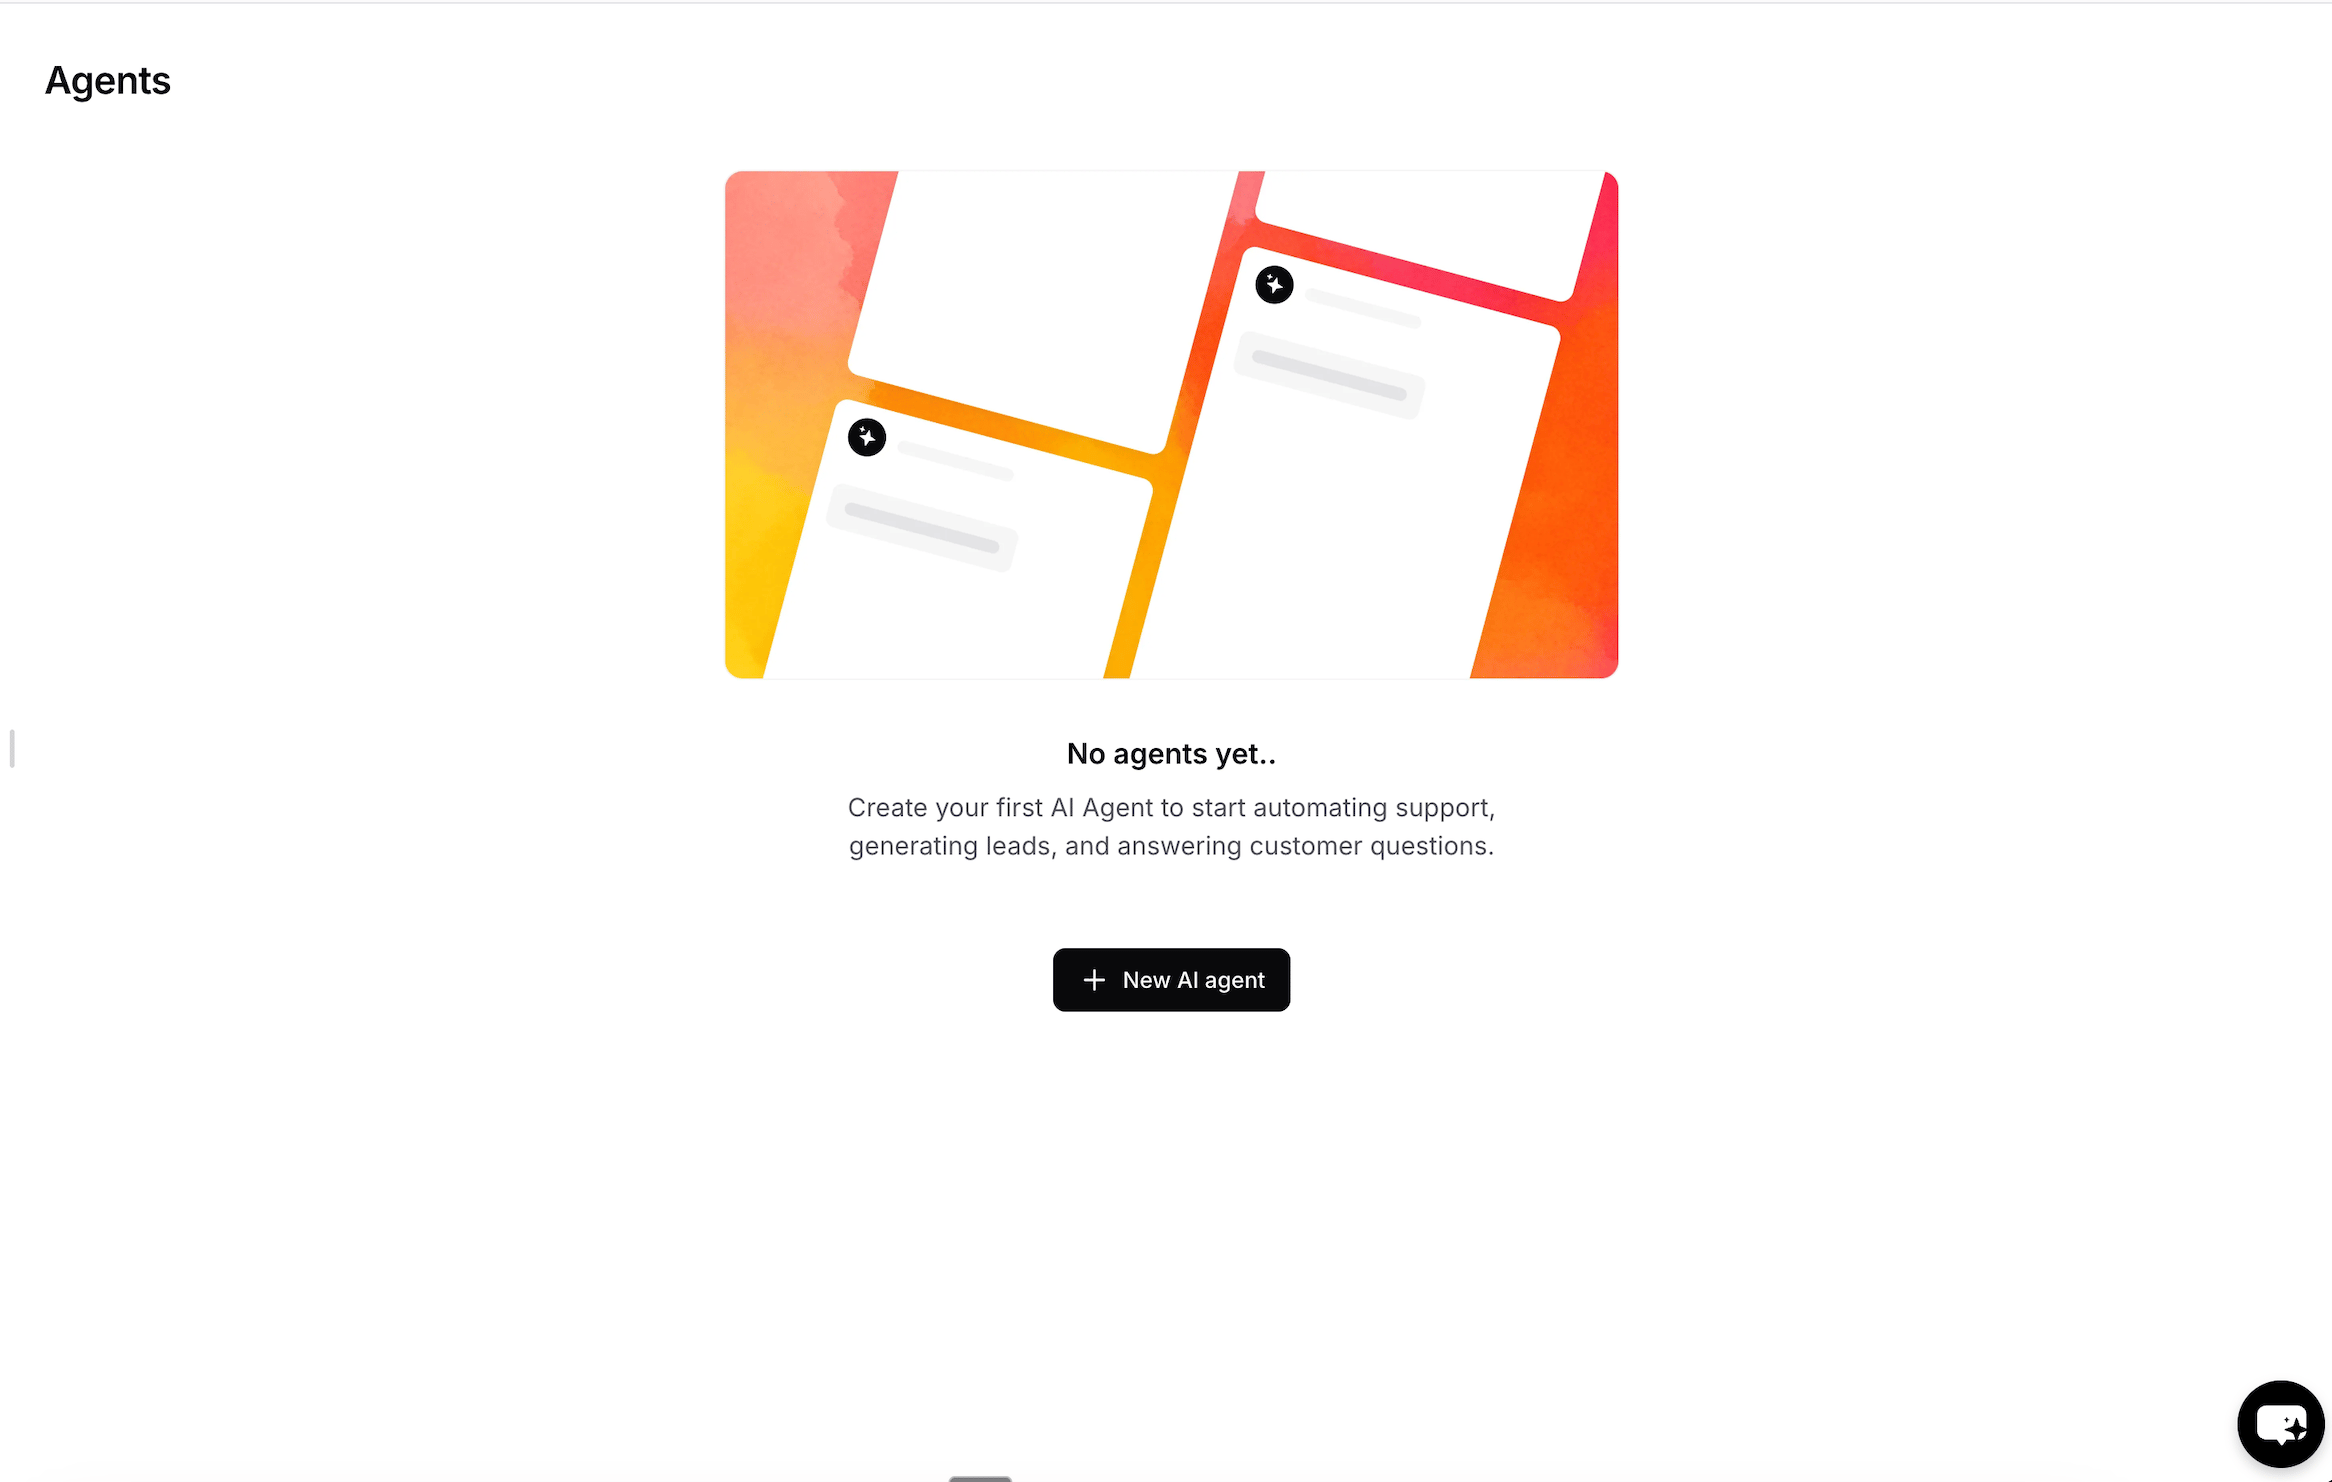
 After creating the workspace, you will be taken to a new page where you can press 'New AI agent' and start adding your sources to start your Chatbase journey!
 ### Duplicating your Agent
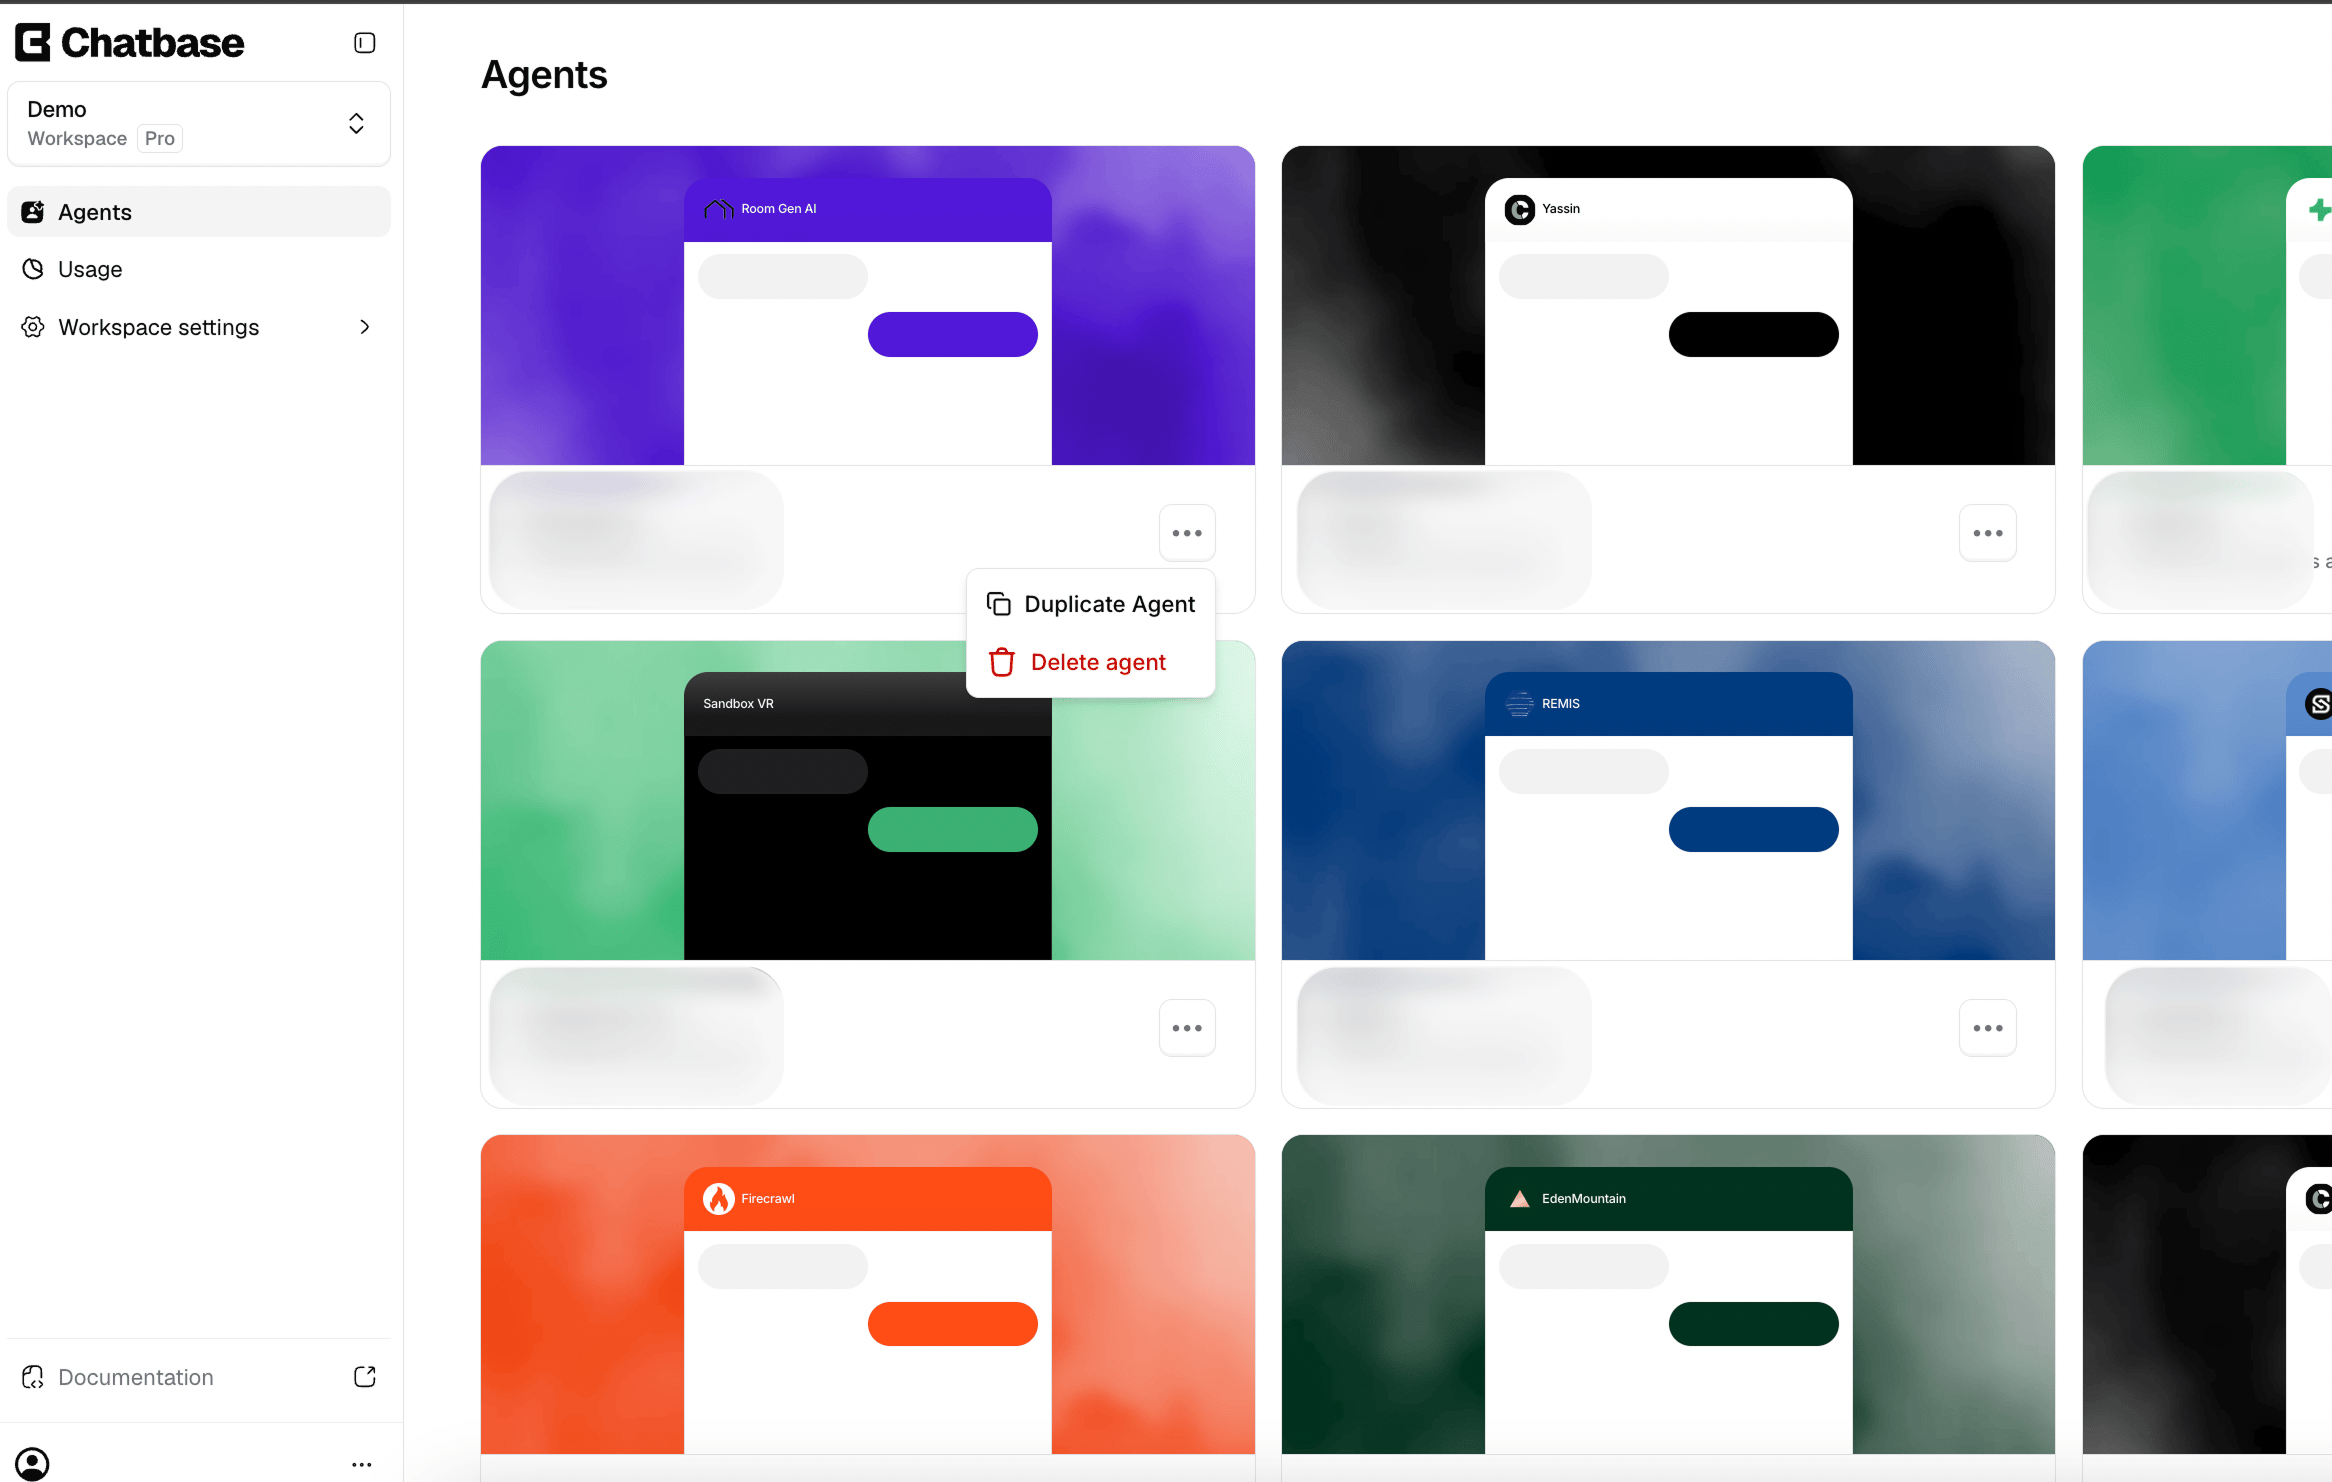
You can easily duplicate any agent by clicking the three dots icon and choosing Duplicate Agent.
### Duplicating your Agent
You can easily duplicate any agent by clicking the three dots icon and choosing Duplicate Agent.
 #### What's Not Copied
While most agent settings are copied, the following are **not** included:
* **Deployment integrations** such as WhatsApp, Zendesk, Instagram, Email channel, etc.
* **Slack Notify action** as Slack workspaces can't be connected to multiple agents at the same time
* **Notion sources** as Notion workspaces can't be connected to multiple accounts
### General Notes
* **Each workspace** has its own AI agents, billing information, and plan. These are not shared between workspace.
* **Owners** can change workspace settings (billing, plan, name), delete the workspace, and manage all AI agents within the workspace.
* **Members** can only manage AI agents (train them, see data, delete them). They cannot change workspace settings.
* **Invite links** expire 24 hours after it has been sent to an invitee.
#### What's Not Copied
While most agent settings are copied, the following are **not** included:
* **Deployment integrations** such as WhatsApp, Zendesk, Instagram, Email channel, etc.
* **Slack Notify action** as Slack workspaces can't be connected to multiple agents at the same time
* **Notion sources** as Notion workspaces can't be connected to multiple accounts
### General Notes
* **Each workspace** has its own AI agents, billing information, and plan. These are not shared between workspace.
* **Owners** can change workspace settings (billing, plan, name), delete the workspace, and manage all AI agents within the workspace.
* **Members** can only manage AI agents (train them, see data, delete them). They cannot change workspace settings.
* **Invite links** expire 24 hours after it has been sent to an invitee.